How to Make Ayarn Dog Diy Wool Puppy Poddle
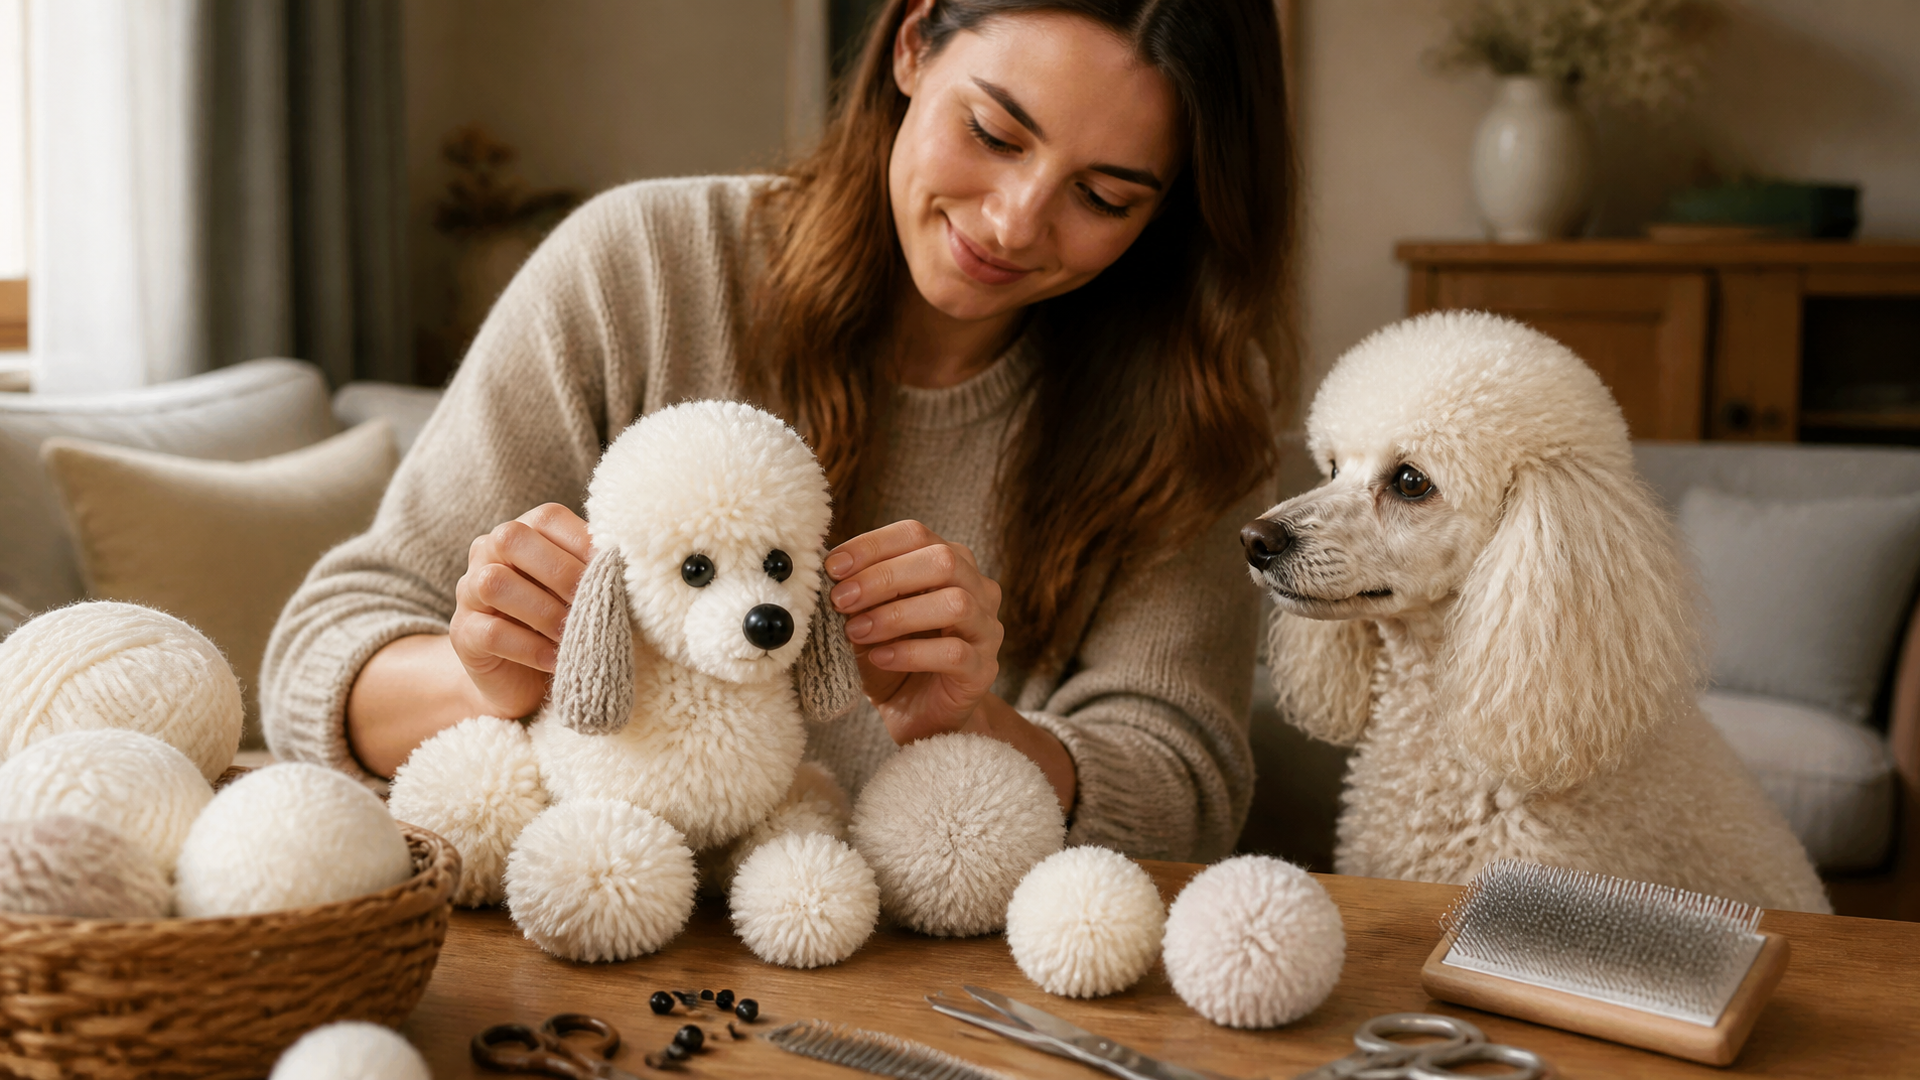
To make a yarn poodle, you shape two pom-poms (one for the body, one for the head), trim them to mimic the poodle’s signature pom-pom coat, add long felt ears, and glue everything together. The key to a recognizable poodle is getting the ear shape right (wide, flat, darker than the body) and leaving visible tufts at the shoulders and tail. Here’s exactly how to do it, with the early checks that prevent a lopsided result.
What You’ll Need
| Supply | Recommended Spec | Why It Matters |
|---|---|---|
| Yarn | Medium-weight (worsted) acrylic or wool blend | Avoid super bulky – makes pom-poms lumpy |
| Cardboard or pom-pom maker | 3-inch wide for body, 1.5-inch for head | Consistent size prevents mismatched proportions |
| Sharp scissors | Any fine-tip craft scissors | Dull scissors crush the yarn fibers |
| Adhesive | Hot glue gun or tacky glue | Hot glue sets fast for legs; tacky glue gives working time for felt |
| Felt sheets | One shade darker than yarn for ears | Real poodle ears are typically darker than the body coat |
| Black seed beads or small buttons | 3–4 mm | For eyes and nose |
| Optional: pipe cleaners | For posable legs | Helps if you want the dog to hold a pose |
Pre-Flight Checklist (use before you start wrapping yarn)
- [ ] Yarn weight is worsted (not chunky or lace)
- [ ] Cardboard width matches target pom-pom size (body 3 in, head 1.5 in)
- [ ] Scissors are sharp enough to snip cleanly
- [ ] Hot glue gun is warm and loaded
- [ ] Felt color contrasts just enough with yarn (not exact match, not hugely different)
Step 1: Make the Pom-Pom Body and Head
The poodle’s body is one large pom-pom, the head a smaller one. Uneven wrapping is the #1 beginner mistake – it creates a lopsided dog you can’t fix later.
1. Wrap yarn around your cardboard about 80–100 times for the body, 50–60 times for the head. Keep tension even – not too tight (collapses the center) or too loose (falls apart).
2. Slide the yarn off carefully and tie a tight double knot around the center with a separate 8-inch piece of yarn. If this knot slips, the whole pom-pom unravels.
3. Cut the loops on both sides, then fluff and trim into a round ball.
4. Trim the body pom-pom slightly oval – dogs aren’t perfect spheres. Leave it a bit longer front-to-back.
Early checkpoint: Hold both pom-poms together. The head should measure about two-thirds the diameter of the body. If they’re the same size, trim the head down now. If the head is less than half the body size, wrap a new one – padding it with extra yarn later never works.
Step 2: Shape the Poodle’s Signature Coat
Real poodles have puffs at the shoulders, hips, and tail tip (even in a simple puppy clip). You replicate that with selective trimming.
- Body: Trim into a rounded barrel shape, not a perfect sphere. Leave a slight dip at the waist by trimming more yarn off the belly area.
- Shoulder puffs: Do not trim the yarn tufts at the front shoulders flush – leave a ½-inch puff on each side.
- Tail: Make a tiny pom-pom (15–20 wraps) and attach it high at the back. Trim it into a neat round puff.
Verification step: Set the body sideways and check the silhouette. You should see a clear chest (fuller at the front), a slight waist dip, and a high tail puff. If the shape is a perfect circle, trim more off the belly and fluff the shoulder tufts.
Step 3: Add the Legs
Two options – pick based on how much detail you want.
Option A: Pom-pom legs (easier, beginner-friendly)
Make four small pom-poms (20–30 wraps each). Trim into rounded cylinders about ½ inch long. Glue two to the front, two to the back, positioning them so your poodle stands level.
Option B: Wrapped yarn legs (more realistic, better for posed poodles)
Wrap yarn around a pipe cleaner or folded cardboard strip 30–40 times, tie off both ends, and trim into a leg shape. This gives you control over length and angle.
Key detail: Poodles have long, straight legs relative to body size. Make legs about half the height of the body pom-pom.
Branch check: Before the glue dries, place the body on a flat surface. If it tips forward or backward, one leg is longer. Trim from the bottom of the offending leg – never the top – a tiny bit at a time. If the poodle still wobbles after three adjustments, shorten all four legs by ¼ inch.
Step 4: Attach the Head and Shape the Face
Glue the head pom-pom to the front-top of the body. Poodles carry their heads high – angle it slightly upward, not forward.
- Snout: Cut a small felt oval about ¾ inch long (for a 3-inch body) in a color slightly lighter than your yarn. Glue it centered on the front of the head.
- Eyes: Glue two black seed beads above the snout, spaced about ½ inch apart.
- Nose: One black bead at the tip of the felt snout.
- Mouth: Use a fine-tip black marker or embroidery thread to add a small smile line below the nose.
Ears: Cut two felt ovals 1.5 inches long and ¾ inch wide at the widest point. Poodle ears are long, wide, and hang flat against the head. Glue them to the sides of the head, angled slightly back. Use a shade darker than your yarn – this makes the ears stand out.
Stop/escalate threshold: After gluing the head and ears, step back and look. If the head is too big for the body, ears are too small or round, or snout is too short – do not add more details. Fix the base first: trim the head pom-pom smaller, replace ears with wider felt, or extend the snout. If the head covers the neck area completely, remove it (gently pull while hot glue is still warm) and make a smaller one. Starting over now saves a finished dog that looks wrong.
Step 5: Final Shaping and Details
- Trim and fluff: Go over the entire poodle with scissors, cutting any stray long strands. Fluff the yarn with your fingers or a slicker brush to make the coat appear fuller.
- Legs: Place the poodle on a flat surface. Trim small amounts from the bottom of each leg until it sits level with no wobble.
- Optional collar: Wrap a thin ribbon or felt strip around the neck and glue in place. Add a tiny charm or bell.
Final verification: Set the poodle on a table and walk around it. From the side, you should see a clear dog silhouette – high tail, long legs, defined chest. From the front, the ears should frame the face, and the snout should be clearly longer than it is wide. If any of these are missing, trim or add now before the glue fully cures.
What to Do If Your Poodle Won’t Stand
This is the most common failure point. If your yarn poodle tips over:
- Check leg height – one leg slightly longer than others tilts the whole dog. Trim from the bottom only.
- Check glue joints – legs may have popped loose. Re-glue and hold for 30 seconds.
- Add weight – push a small pebble or a few beads into the center of the body pom-pom before closing it (next time), or glue a small washer under each foot.
- Shorten legs – if legs are too long relative to the body, trim them down by ¼ inch and test again.
Poodle Breed Specifics at a Glance
| Feature | Real Poodle | Your Yarn Poodle |
|---|---|---|
| Coat texture | Dense, curly, single-coated | Leave yarn trim slightly uneven to mimic curls |
| Ear shape | Long, wide, hanging flat | Felt ovals wider than you think – poodle ears are broad |
| Tail | High set, often docked in US | Small pom-pom at the very back, attached high |
| Leg length | Long, straight, sturdy | Make legs deliberately long – don’t stub them |
| Head shape | Long muzzle, distinct stop (forehead dip) | Use felt snout to create length; trim head pom-pom flatter on top |
How to Make Different Poodle Varieties
| Poodle Type | Color Suggestions | Key Adjustments |
|---|---|---|
| Toy poodle | White, apricot | Scale everything down (1.5-inch cardboard for body) |
| Miniature poodle | Black, silver, café au lait | Medium body pom-pom; add tiny felt pink tongue |
| Standard poodle | White, black, brown | Large body pom-pom; legs noticeably longer |
| Parti poodle | White with patches | Wrap yarn in sections – white body, then tie small patches of colored yarn |
Save This Guide
Key takeaway: The two things that make a yarn poodle look like a poodle (not a generic yarn dog) are the ear shape – long, wide, darker felt ovals – and the coat trimming that leaves visible puffs at the shoulders and tail. Focus your trimming time on those two areas, and your poodle will be instantly recognizable.
This guide contains affiliate product links. If you purchase through them, we may earn a small commission at no extra cost to you.