Sphynx Cleaning Ear Product
The best Sphynx ear cleaning product is an alcohol-free, cat-specific ear cleaner like Virbac Epi-Otic or Vet’s Best Ear Relief. The number one mistake Sphynx owners make is reaching for a cotton swab or human ear drops — both can hurt your cat. Sphynx ears produce more wax than furry cats because there’s no hair to absorb it. You need a gentle, veterinarian-formulated cleaner and the right technique. Here’s exactly what to use, how to clean safely, and when to stop.

Why Sphynx Ears Need Special Care
Without hair, your Sphynx’s ear canals are wide open to dust, wax buildup, and moisture. That extra wax is normal for the breed, but it can trap dirt and lead to infections if you don’t clean regularly. Most Sphynx owners should check ears once a week and clean when you see visible wax or debris. Overcleaning (more than twice a week) strips protective oils and can cause irritation — a dry, flaky ear flap is often a sign you’re doing it too often.
What normal looks like: A healthy Sphynx ear is pale pink inside, with a thin layer of yellowish-brown wax that doesn’t smell. If the wax is dark, crumbly, or has any odor, that’s a red flag.
Choosing the Right Ear Cleaning Product for Your Sphynx
Not all ear cleaners are safe for hairless cats. The wrong product can sting, dry out the canal, or feed yeast. Look for a product that:
- Is alcohol-free and peroxide-free (these sting and dry out the ear canal)
- Contains a gentle drying agent (like witch hazel or boric acid) to prevent yeast
- Has a pH balanced for cats (around 5.5–6.5)
- Comes in a bottle with a comfortable tip (not a hard nozzle)
| Product type | Best for | Example ingredients | When to use |
|---|---|---|---|
| Liquid ear cleaner | Daily maintenance, moderate wax | Aloe vera, tea tree oil (low concentration), gentle surfactants | Weekly or as needed |
| Medicated ear flush | Infection-prone ears or after baths | Chlorhexidine, ketoconazole (vet approval required) | Only under vet guidance |
| Ear wipes | Quick touch-ups between full cleans | Cotton-based with soothing oils (coconut, vitamin E) | Up to daily for light wax |
Some brands are specifically labeled for Sphynx — check the label or ask your vet. We recommend an alcohol-free, cat-specific cleaner like Virbac Epi-Otic or Vet’s Best Ear Relief for routine use. (We may earn a commission if you purchase through links on this page.)
Real-world example: One Sphynx owner found that switching from a medicated flush (which was too harsh) to a gentle aloe-based liquid cleaner reduced their cat’s ear redness within a week. The key was matching the product to the actual wax level, not just buying the strongest option.
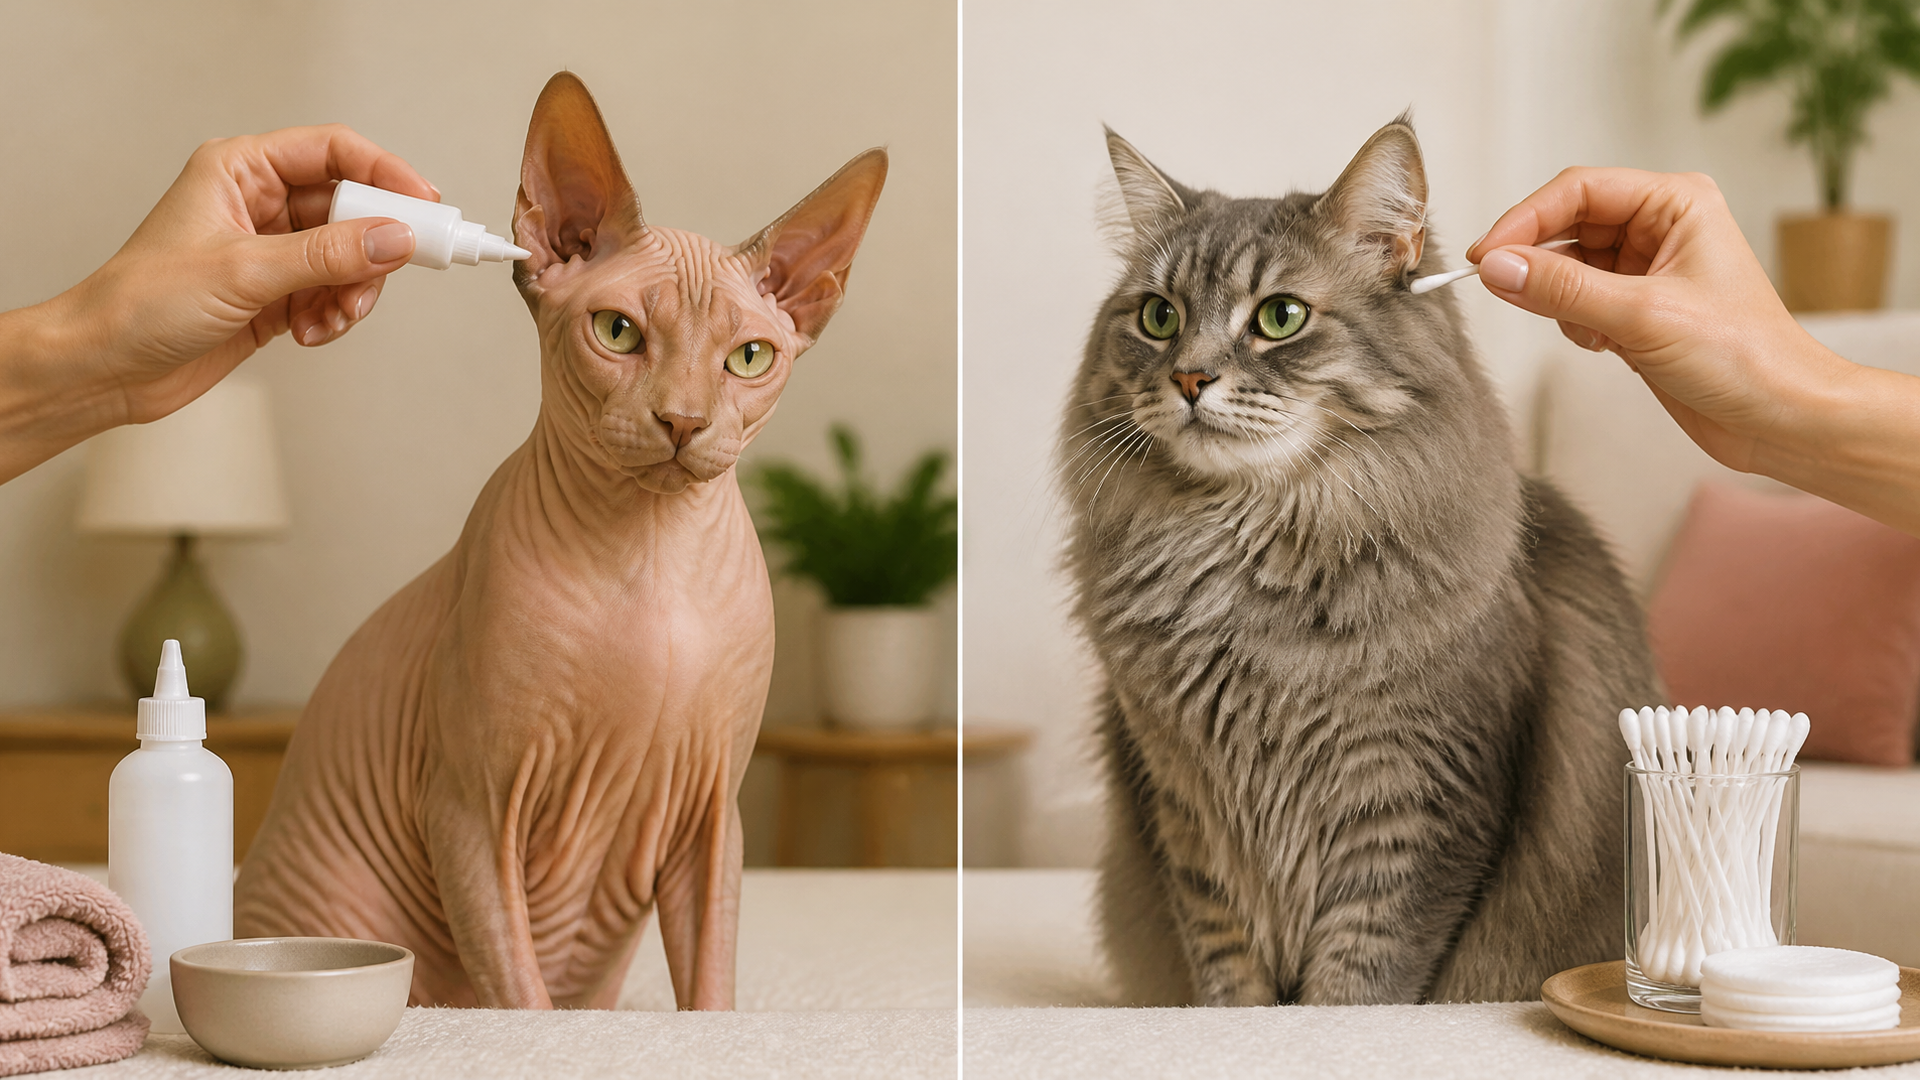
How to Clean Your Sphynx’s Ears: Step-by-Step
Follow this process once a week or whenever you see visible wax. Stop if your cat shows any sign of pain.
What You’ll Need
- Cat-safe ear cleaner (liquid or wipe)
- Cotton balls or soft gauze — never cotton swabs (they push wax deeper and can rupture the eardrum)
- Treats for positive reinforcement
- A towel (if your cat is fidgety)
Step 1: Prepare the Area
Gently wrap your Sphynx in a towel if they’re fidgety. Have the bottle of cleaner nearby. Choose a quiet room with good lighting. Let your cat sniff the bottle first so it’s less startling.
Step 2: Drip the Cleaner
Hold the bottle tip just above the ear canal opening. Squeeze the recommended amount (usually 2–4 drops) into the ear. Avoid touching the ear with the tip to prevent contamination.
Early check: Your Sphynx may shake their head — that’s normal. The motion helps loosen wax. If they shake violently or cry out, stop and check for redness or discharge (see the vet signs section below).
Step 3: Massage the Base
Gently massage the base of the ear for 20–30 seconds. You’ll hear a squishing sound if wax is loose. This step is essential for breaking up debris.
Step 4: Wipe the Canal Opening
Let your cat shake again, then use a cotton ball or gauze to wipe away visible wax and excess liquid from the inner ear flap. Never go deeper than your finger can reach — you can damage the eardrum.
Step 5: Check and Decide What to Do Next (Branch Point)
Look at the cotton ball. This is where your next action depends on what you see:
- Lightly tinted or clean cotton ball: You’re done. Proceed to Step 6.
- Heavily soiled cotton ball with loose wax: Repeat steps 2–4 once more with a fresh cotton ball. If the second round still comes out heavily soiled, stop and give your cat a 24-hour break before trying again. Over-cleaning in one session can irritate the canal.
- Dark, coffee-ground-like discharge or strong odor: Do not repeat. Stop cleaning immediately — this is a sign of ear mites or infection. Do not use any ear cleaner on an infected ear. Call your vet.
Step 6: Verify and Dry
Wipe the outer ear once more with a dry cotton ball to remove any residual moisture. Offer a treat.
Verification check: The ear canal should feel dry to the touch (not wet). Your cat should not be shaking their head or scratching more than normal. A clean, healthy ear looks pale pink inside with little to no visible wax and no odor.
Success signal: The cotton ball comes out clean with minimal wax after two rounds of cleaning. Your Sphynx doesn’t flinch or scratch after the session.
When to Stop and Call the Vet (Clear Escalate Threshold)
Stop cleaning immediately and call your vet if you see any of these:
- Dark, coffee-ground-like discharge — likely ear mites
- Strong fishy or yeasty odor — likely bacterial or yeast infection
- Redness or swelling inside the ear flap — inflammation or infection
- Your cat cries, hisses, or pulls away when you touch the ear — pain
- Persistent head shaking or scratching that continues after cleaning
Do not use any ear cleaner on an infected ear — it can push debris deeper or worsen the infection. Let your vet diagnose and prescribe treatment first. Most ear infections require a prescription flush or medicated drops, and waiting too long can lead to a ruptured eardrum or chronic issues.
Quick Checklist: Choosing a Safe Sphynx Ear Cleaner
Use this checklist when you buy or reorder:
- [ ] Alcohol-free and peroxide-free
- [ ] pH-balanced for cats (not for dogs)
- [ ] Contains a drying agent (witch hazel, boric acid, or similar)
- [ ] No harsh preservatives (parabens, fragrances)
- [ ] Soft nozzle tip (not sharp or metal)
- [ ] Labeled “gentle” or “daily use” – not “medicated” unless vet-recommended
- [ ] Comes in a small bottle (use within 6 months of opening)
- [ ] Your cat’s ears look and smell normal before you start
Frequently Asked Questions
Can I use baby oil or olive oil to clean Sphynx ears?
No. Oils trap moisture and feed yeast, which can cause infections. Stick to a cat-specific ear cleaner.
How often should I clean my Sphynx’s ears?
Once a week is safe for most Sphynx. If your cat produces heavy wax, you can clean every 5 days, but never more than twice a week without your vet’s approval.
What if my Sphynx hates ear cleaning?
Desensitize slowly: let them sniff the bottle, reward after each step, and keep sessions under 2 minutes. If they still fight it, ask your vet about a calming wrap or pheromone spray. Some owners also find that warming the cleaner slightly (to room temperature) makes it less startling.
Is it okay to use an ear wipe every day?
Yes, for light wax touch-ups or between full cleans. But full liquid cleans should stay at 1–2 times per week to avoid drying out the ear canal.
Save This Guide — Keep this page bookmarked for your weekly Sphynx ear cleaning routine. The key takeaway: choose an alcohol-free cat ear cleaner, never use cotton swabs, check the cotton ball after each wipe to decide your next step, and stop at any sign of pain, odor, or dark discharge. Your Sphynx will thank you with clean, healthy ears.